


HOW FOOD WORKS: American Fluffy Pancakes
The acids and bases of the pancake world, how to maximise the lift of your batter and the chemistry behind it all.

Hey Friends!
So, this may seem a bit early, but in case you didn’t know - it’s Pancake Day next Tuesday!
I toyed with the idea of sending this out a day early, but, I thought it’s probably better to give you the full week to get your bearings, stock the kitchen, and dare I say it, do a practise run this weekend…?
After making copious batches of different variations, I can concur that you will not be disappointed this P-Day!
If you do give these a go, I would absolutely love to see your creations! And I would also love to hear your thoughts!
I know pancake preferences are deeply personal, so I’m interested to see how you make this recipe your own!
Happy Wednesday, and as always, thanks for reading!
Fiona :)
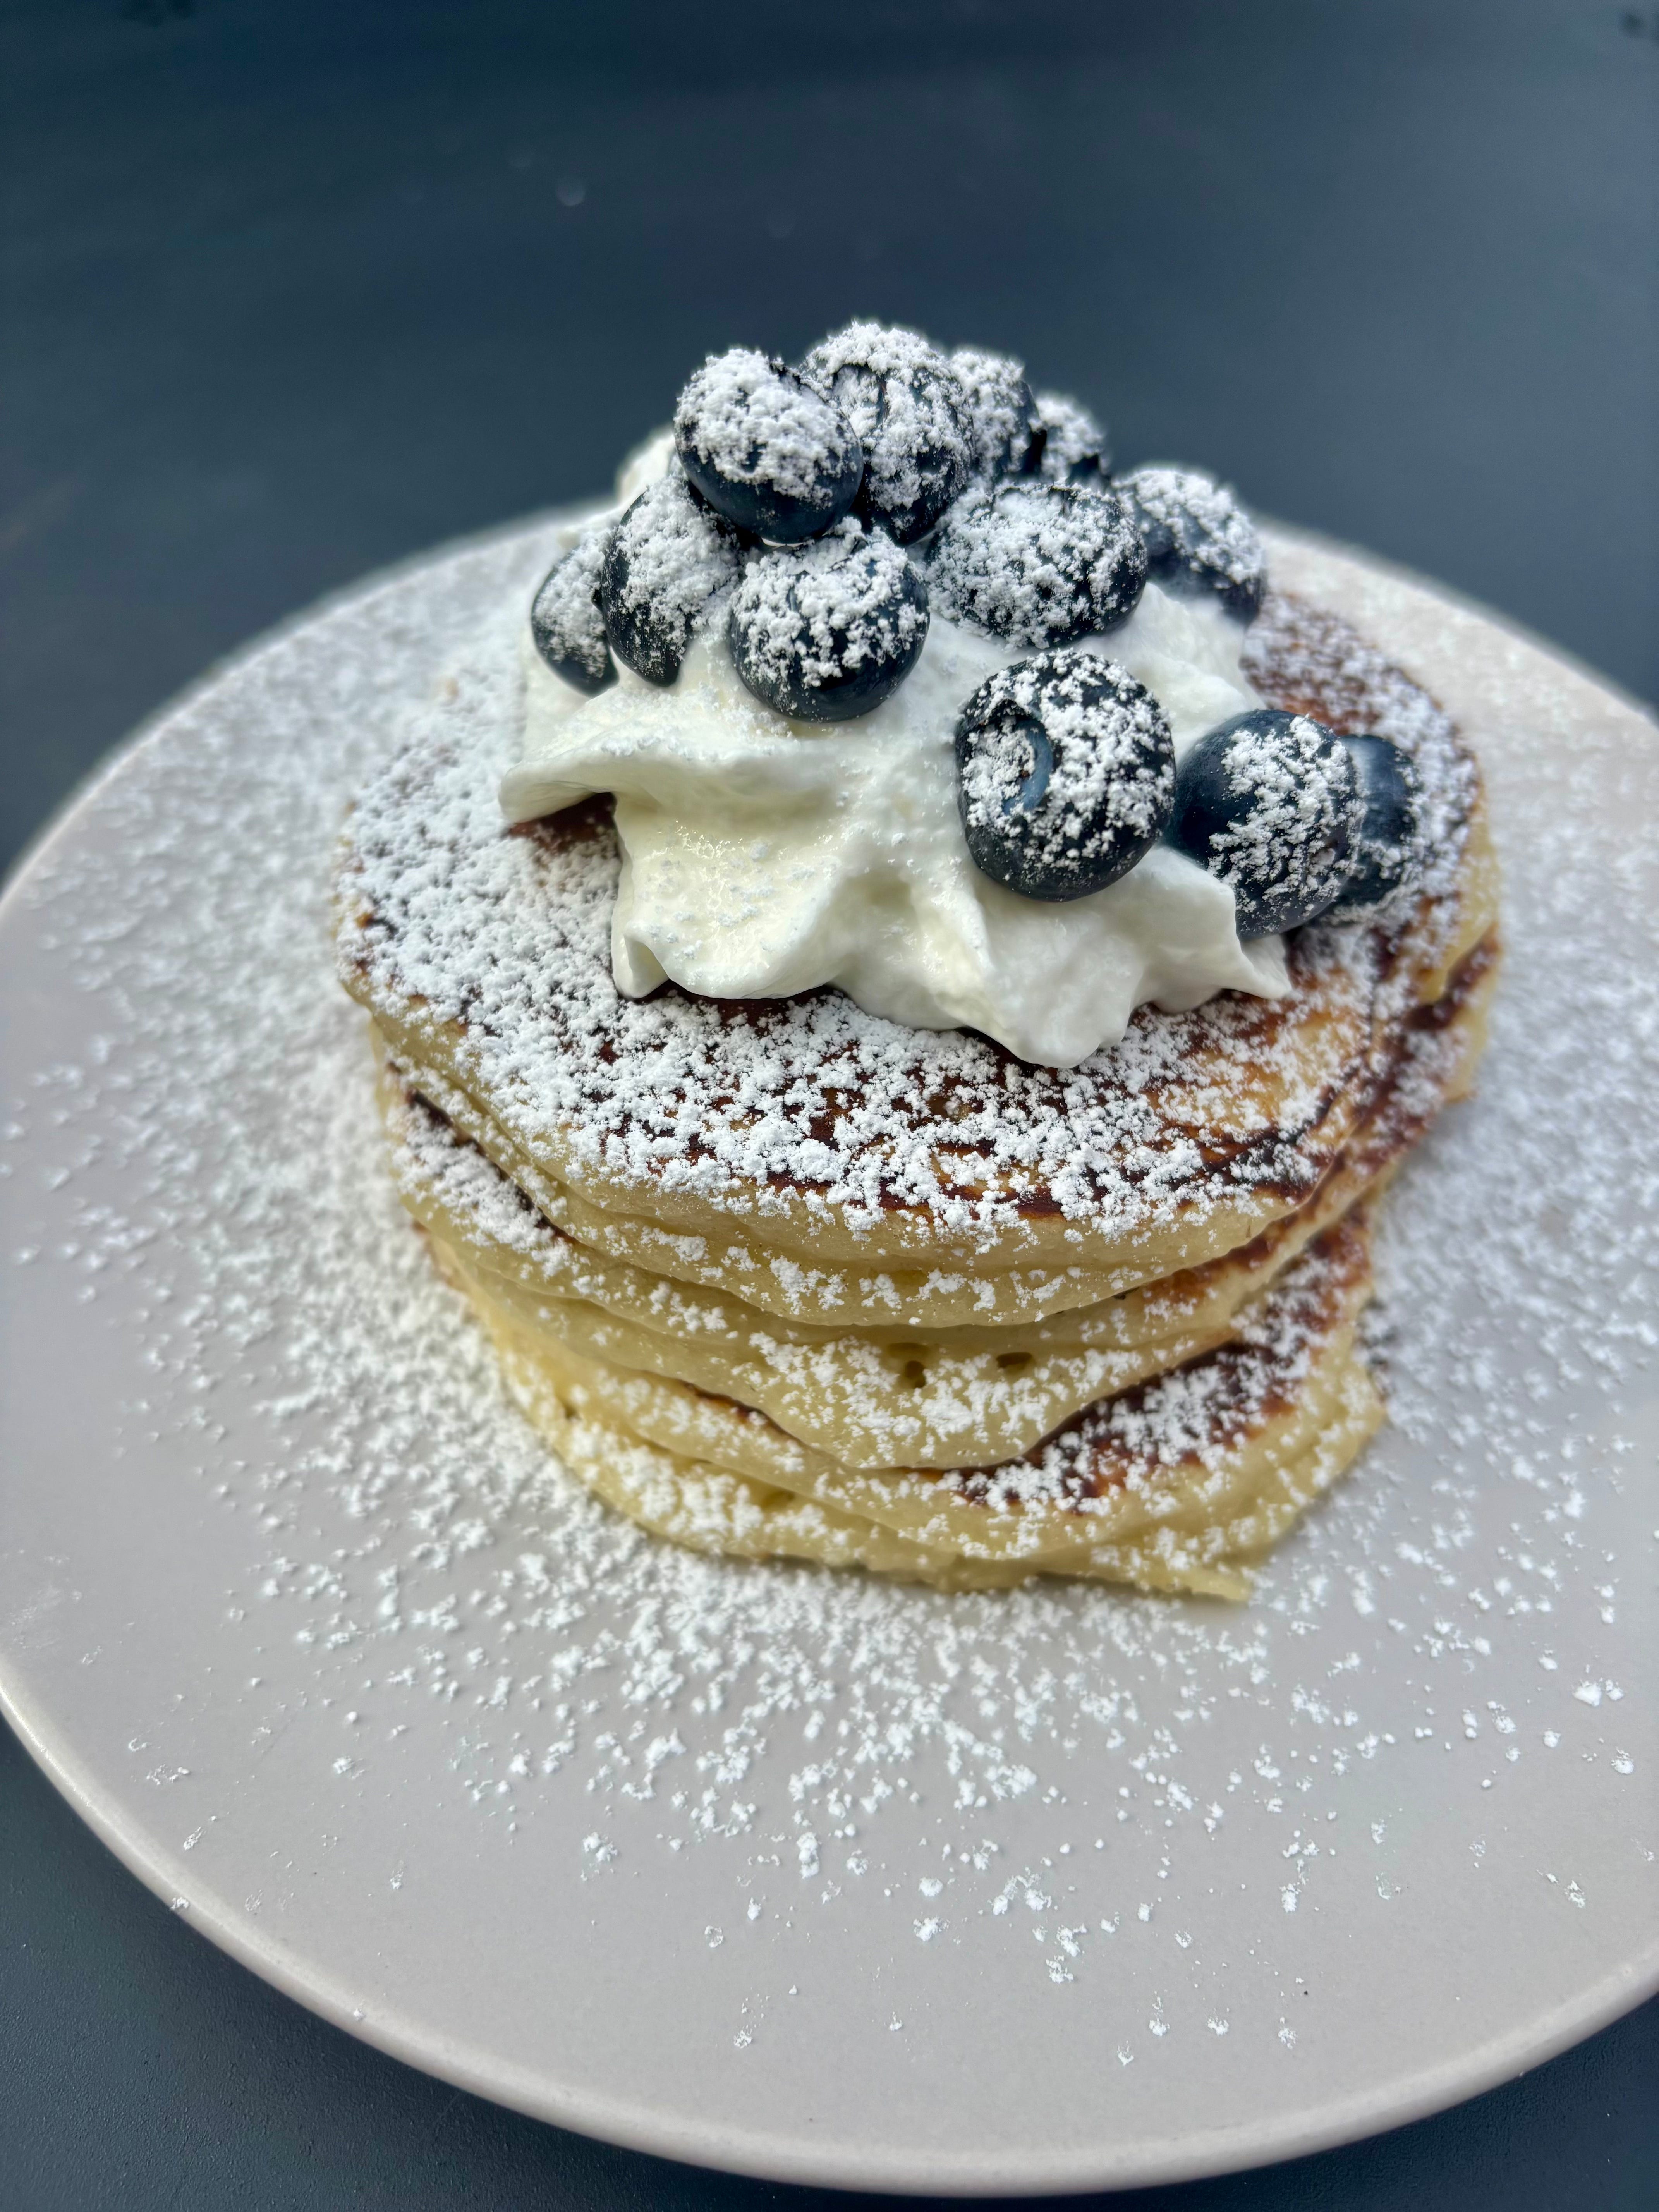
You could write an entire book on pancakes. It is a very broad term. What we traditionally envision as a paper thin disk or a tower of fluffy carbohydrate clouds, doused in syrup or butter or dealer’s choice really, actually extends further afar by definition. Technically, a Russian blini or Ethiopian injera also fall into the pancake camp. So, what binds them altogether? They are all: flat cakes, made from a pourable batter, on a hot pan. This week, we will delve into one type of pancake (we only have so much time), and that is the American pancake, A.K.A, the fluffy one.
American pancakes can be easily identified by their airy, tall and cloud-like structure. In order to devise the perfect recipe, we must capitalise on these properties. There are many routes to perfect, these pancakes don’t get their characteristics from just one element. It’s a balancing act of preference, timing and, of course, science. Let’s get into it.
The Breakdown:
The fluffy pancake requirement is pretty simple: we need to do something to help the batter rise. Of course, there are many ways to do this, but it’s even better when you combine those many ways. The pancake comes from humble origins: some type of flour, a liquid (traditionally milk or water), and sometimes, an egg or two. You can only get so much height out of those ingredients. The next step, is recruiting a little help.
- The Leavening Agents
A leavening agent is a substance that produces gas, filling the mixture it’s added to with air bubbles, causing it to rise. Yeast is a natural leavening agent, one that takes a good bit of time. You can absolutely still go down this route, you’d just end up with a much tangier, fermented flavour, and would need to leave your batter alone, allowing the gas to develop, for a good few hours or even better, overnight. The same method can be applied when using active sourdough starter. It’s a practise commonly used in pancake recipes like blinis or Pannenkoeken, and doesn’t require the addition of chemical leavening agents.

Chemical leavening agents are commonplace in any fluffy pancake recipe. They are easy to procure, cheap and high reward for very little input. You may recognise them as ‘baking powder’ and ‘baking soda / bicarbonate of soda’, usually both being required in a recipe. So, how do they work, and how do we use them for the best outcome?
- The Acids & Bases
Baking soda (or bicarbonate of soda for those of us in the UK) is an alkaline powder of pure sodium bicarbonate, a base. Why do we use it in our pancakes? Well, when a base comes into contact with an acid, it follows the acid-base neutralisation rule, producing sodium, water and carbon dioxide.

Carbon dioxide, a gas, aerates the batter, giving you a well risen pancake as long as an acid is present. The acid could take the form of ingredients like buttermilk, yoghurt, lemon juice and so on. It is Romeo, and baking soda is Juliet. Through neutralisation comes gas comes height! Using buttermilk isn't just for flavour, it’s for science!
We then have chemical leavening agent number two: baking powder. This invention incorporated acid into the baking soda, removing the need for us to introduce the acid ourselves. Once it’s added to a wet environment (like wet batter), the acid and base in the baking powder react, again creating carbon dioxide through acid-base neutralisation. So, one would assume we no longer need to use baking soda, right? Now we have the all-in-one, why bother?
Baking soda is still necessary in two major ways. First, to help with that classic golden brown colour you associate with a perfectly cooked pancake. How? Well, baking soda alters the batter’s pH (it’s basic, so it increases it) and this helps to encourage browning through a process called The Maillard Reaction. Without it, you end up with paler, more anaemic looking pancakes. Second, we need it to react with any acids present. Without it, we don’t make use of the acid-base neutralisation reaction, meaning less gas bubbles, and less rise.
By using both options, we’re doubling down on our acid + base reaction! First, with baking powder (acid + base in one), and then, with a choice of an acid (buttermilk, yoghurt etc.) and baking soda as the base. So, is there anything else we can take advantage of? How can we keep the rise going?
- The Extra Credits
Baking powder isn’t just a one-trick pony. She has another secret - ‘double acting’. This means that yes, once in the presence of liquid, carbon dioxide starts to produce, but also, once in the presence of heat, thermal decomposition causes the production of carbon dioxide again, giving way to our third rise factor!

There is still however, another element we are not fully utilising: eggs. Separating eggs and whipping up egg whites is an age old aeration technique. It introduces lots of air bubbles into the batter providing structural height in many bakes. The aim of the fluffy pancake game is to introduce as many air bubbles as possible so that when that batter hits the pan, we get a mighty rise and are left with a maximum fluff pancake. So, we should do this too, right?
- The Eggs
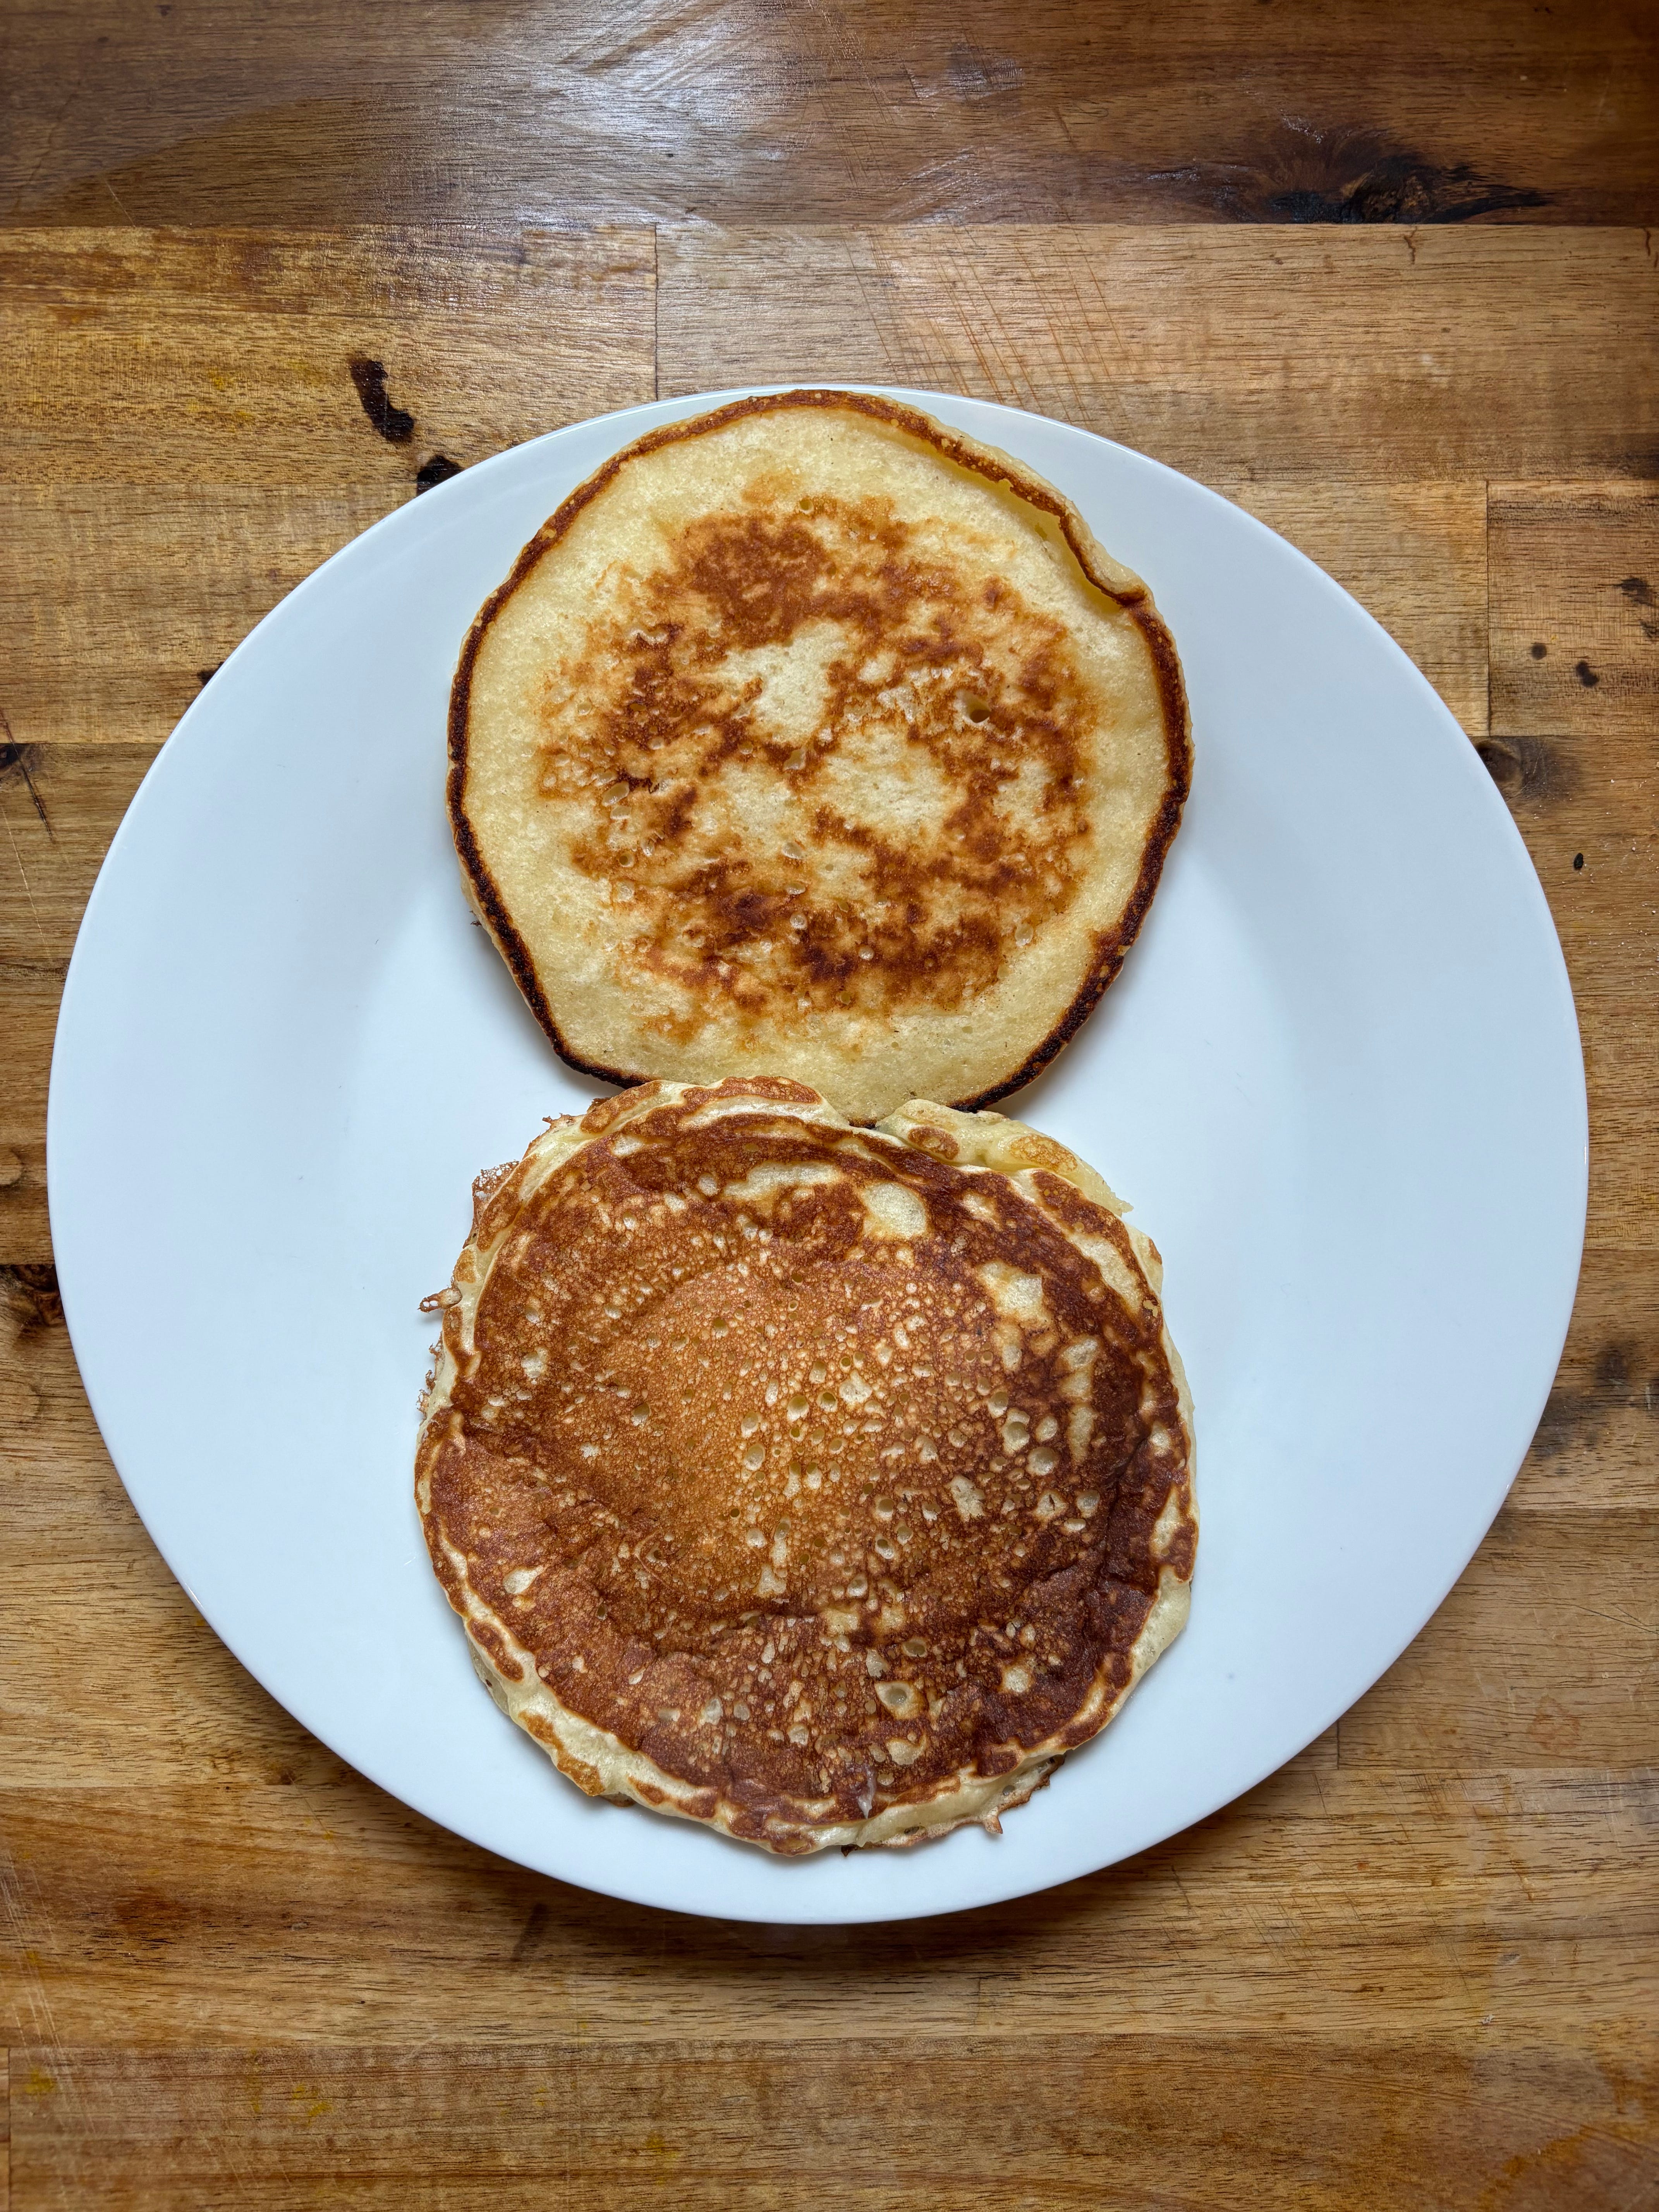
I see a lot of talk about whipping egg whites for fluffy pancake batter. I will be completely honest, whipping egg whites is a last resort for me. I do not enjoy it. And I also think pancake day, a time of intense stress and hungry mouths and fire alarms and batter on ceilings, is not the time to do it. So, I decided to conduct my own experiment and test the exact same recipe; one with whipped egg whites and one without.


Personally, I don’t think it’s a question of which is better. Both have their own flair, so to speak. The whipped egg whites tend to give the pancake a more homogenous rise throughout, giving it a more cartoonish-perfect shape. Not whipping the egg whites still gives a super fluffy interior, just in a more ‘home-made’ style. Do I think whipping the egg whites really affects the eating experience? No. Despite the structural differences, the aeration in both batches were almost identical, and the height difference was negligible. You just have to ask yourself - can you be bothered?
Realistically, a pancake can only rise so far. With the acid, the baking soda, the baking powder and the method, we already have a lot going on. I think it’s a question of preference. My belief system is: if it ain’t broke, don’t fix it! By all means play around with it yourself and see if it makes much of a difference for you, but personally, I welcome one less step!
- The Gluten
When water is added to flour and then mixed, glutenin and gliadin proteins start to bond to form the protein complex gluten. In the case of pancakes, this is the water content of the liquids you’re using. Some gluten is fine, it’s integral for providing structure, but we want to keep the bonds weak and loose. We want our pancake to hold its shape, not to bite back.
Gluten is a stretchy complex which allows air pockets to form in and around it. The more we mix, the more gluten we develop, and the stronger and tighter the bonds are. There is less space for air bubbles and instead, we end up with a chewy and dense final product. This is why you’re usually told not to overly mix things that are meant to be soft and delicate.
This is a double win for us, because by not over-mixing, we also reduce the risk of destroying all the aeration we’ve worked so hard to achieve. We don’t want to beat out all the air bubbles we’ve introduced in.
But wait, there is also another trick we can use to slow down gluten development, as well as adding flavour to the mix: Enter, fats.

- The Fats
Pure fats are hydrophobic, i.e. they don’t like (they repel, how dramatic), water. By adding pure or high concentration fats like butter (80% fat) to your mixture, you essentially lubricate the some of the flour. The fat starts to coat flour molecules, blocking them from being hydrated by any water molecules nearby. It also coats newly formed gluten bonds, preventing them from developing any further. This limits the amount of gluten that can be produced, lending to much softer and tender results. When you think about super melt-in-your-mouth pastries and cakes, do they tend to coincide with large amounts of fat? Here lies the scientific explanation.
And as if we couldn’t love fats any more, not only do they produce softer bakes, they also help impart wonderful flavour. Fats are flavour enhancers, they enrich what you’re tasting by trapping and carrying the aromatic compounds in your food. They also help neutralise the flavour of the acid you’re using, and heighten the ‘richness’ sensation by physically coating your tongue!
- The Rest Time
When I make crêpes, I always rest the batter. Remember when we talked about the ‘double-acting’ property of baking powder? Well, when we make fluffy pancakes, we absolutely do not rest the batter. In fact, we want to keep the time of hydrating the dry ingredients to the time of cooking the batter in the pan to a minimum. Why?
Chemical reactions wait for no one. As soon as you combine your dry and wet mixtures, the reactions begin, and they do not last forever. As time goes on, they will dwindle, and you will not reap the benefits. Yes, you’ll get another burst once the batter comes into contact with the heat, but we want it all! As soon as you combine your wet and dries, we want to carefully mix everything together and then get straight to cooking!
To read the full recipe with step by step explanations, subscribe to receive ‘TEST KITCHEN’ where we will also go over the comprehensive cheat sheet for this technique, temperatures, timings and science backed flavour pairings.
Happy eating and thanks for reading!
Fiona :)
Any questions, let me know below!